Identity Providers
Index of identity-related configuration in Archestra — SSO sign-in, downstream token exchange, role mapping, team sync, and per-provider walkthroughs
Archestra integrates with your identity provider (IdP) for two related purposes:
- Sign-in (SSO) — users authenticate with their existing IdP credentials. See SSO.
- Downstream MCP tool calls (Enterprise-Managed Auth) — Archestra exchanges the signed-in user's IdP token for a downstream API token at tool-call time, so the tool runs as that user, not a service account. See Enterprise-Managed Auth.
Enterprise feature: please reach out to sales@archestra.ai for instructions about how to enable the feature.
Supported providers
| Provider | Protocol | SSO sign-in | Role mapping | Team sync | Token exchange (downstream MCP) | Setup guide |
|---|---|---|---|---|---|---|
| Microsoft Entra ID | OIDC | Yes | Yes | Yes (groups claim) | Entra OBO | Entra ID SSO + OBO |
| Okta | OIDC | Yes | Yes | Yes | Okta-managed (private key JWT, ID token) | Okta SSO + Token Exchange |
| OIDC | Yes | Yes | Yes | RFC 8693 (in form, rarely used in practice) | This page | |
| GitHub | OIDC | Yes | Yes | Yes | RFC 8693 (in form, rarely used in practice) | This page |
| GitLab | OIDC | Yes | Yes | Yes | RFC 8693 (in form, rarely used in practice) | This page |
| Generic OIDC | OIDC | Yes | Yes | Yes | RFC 8693 (or Okta-managed / Entra OBO if issuer matches) | This page |
| Generic SAML | SAML 2.0 | Yes | Yes | Yes | — (not supported for SAML) | This page |
The token-exchange strategy is auto-inferred from the OIDC issuer URL: Okta hostnames → Okta-managed, Microsoft hostnames → Entra OBO, anything else → RFC 8693. See Enterprise-Managed Auth.
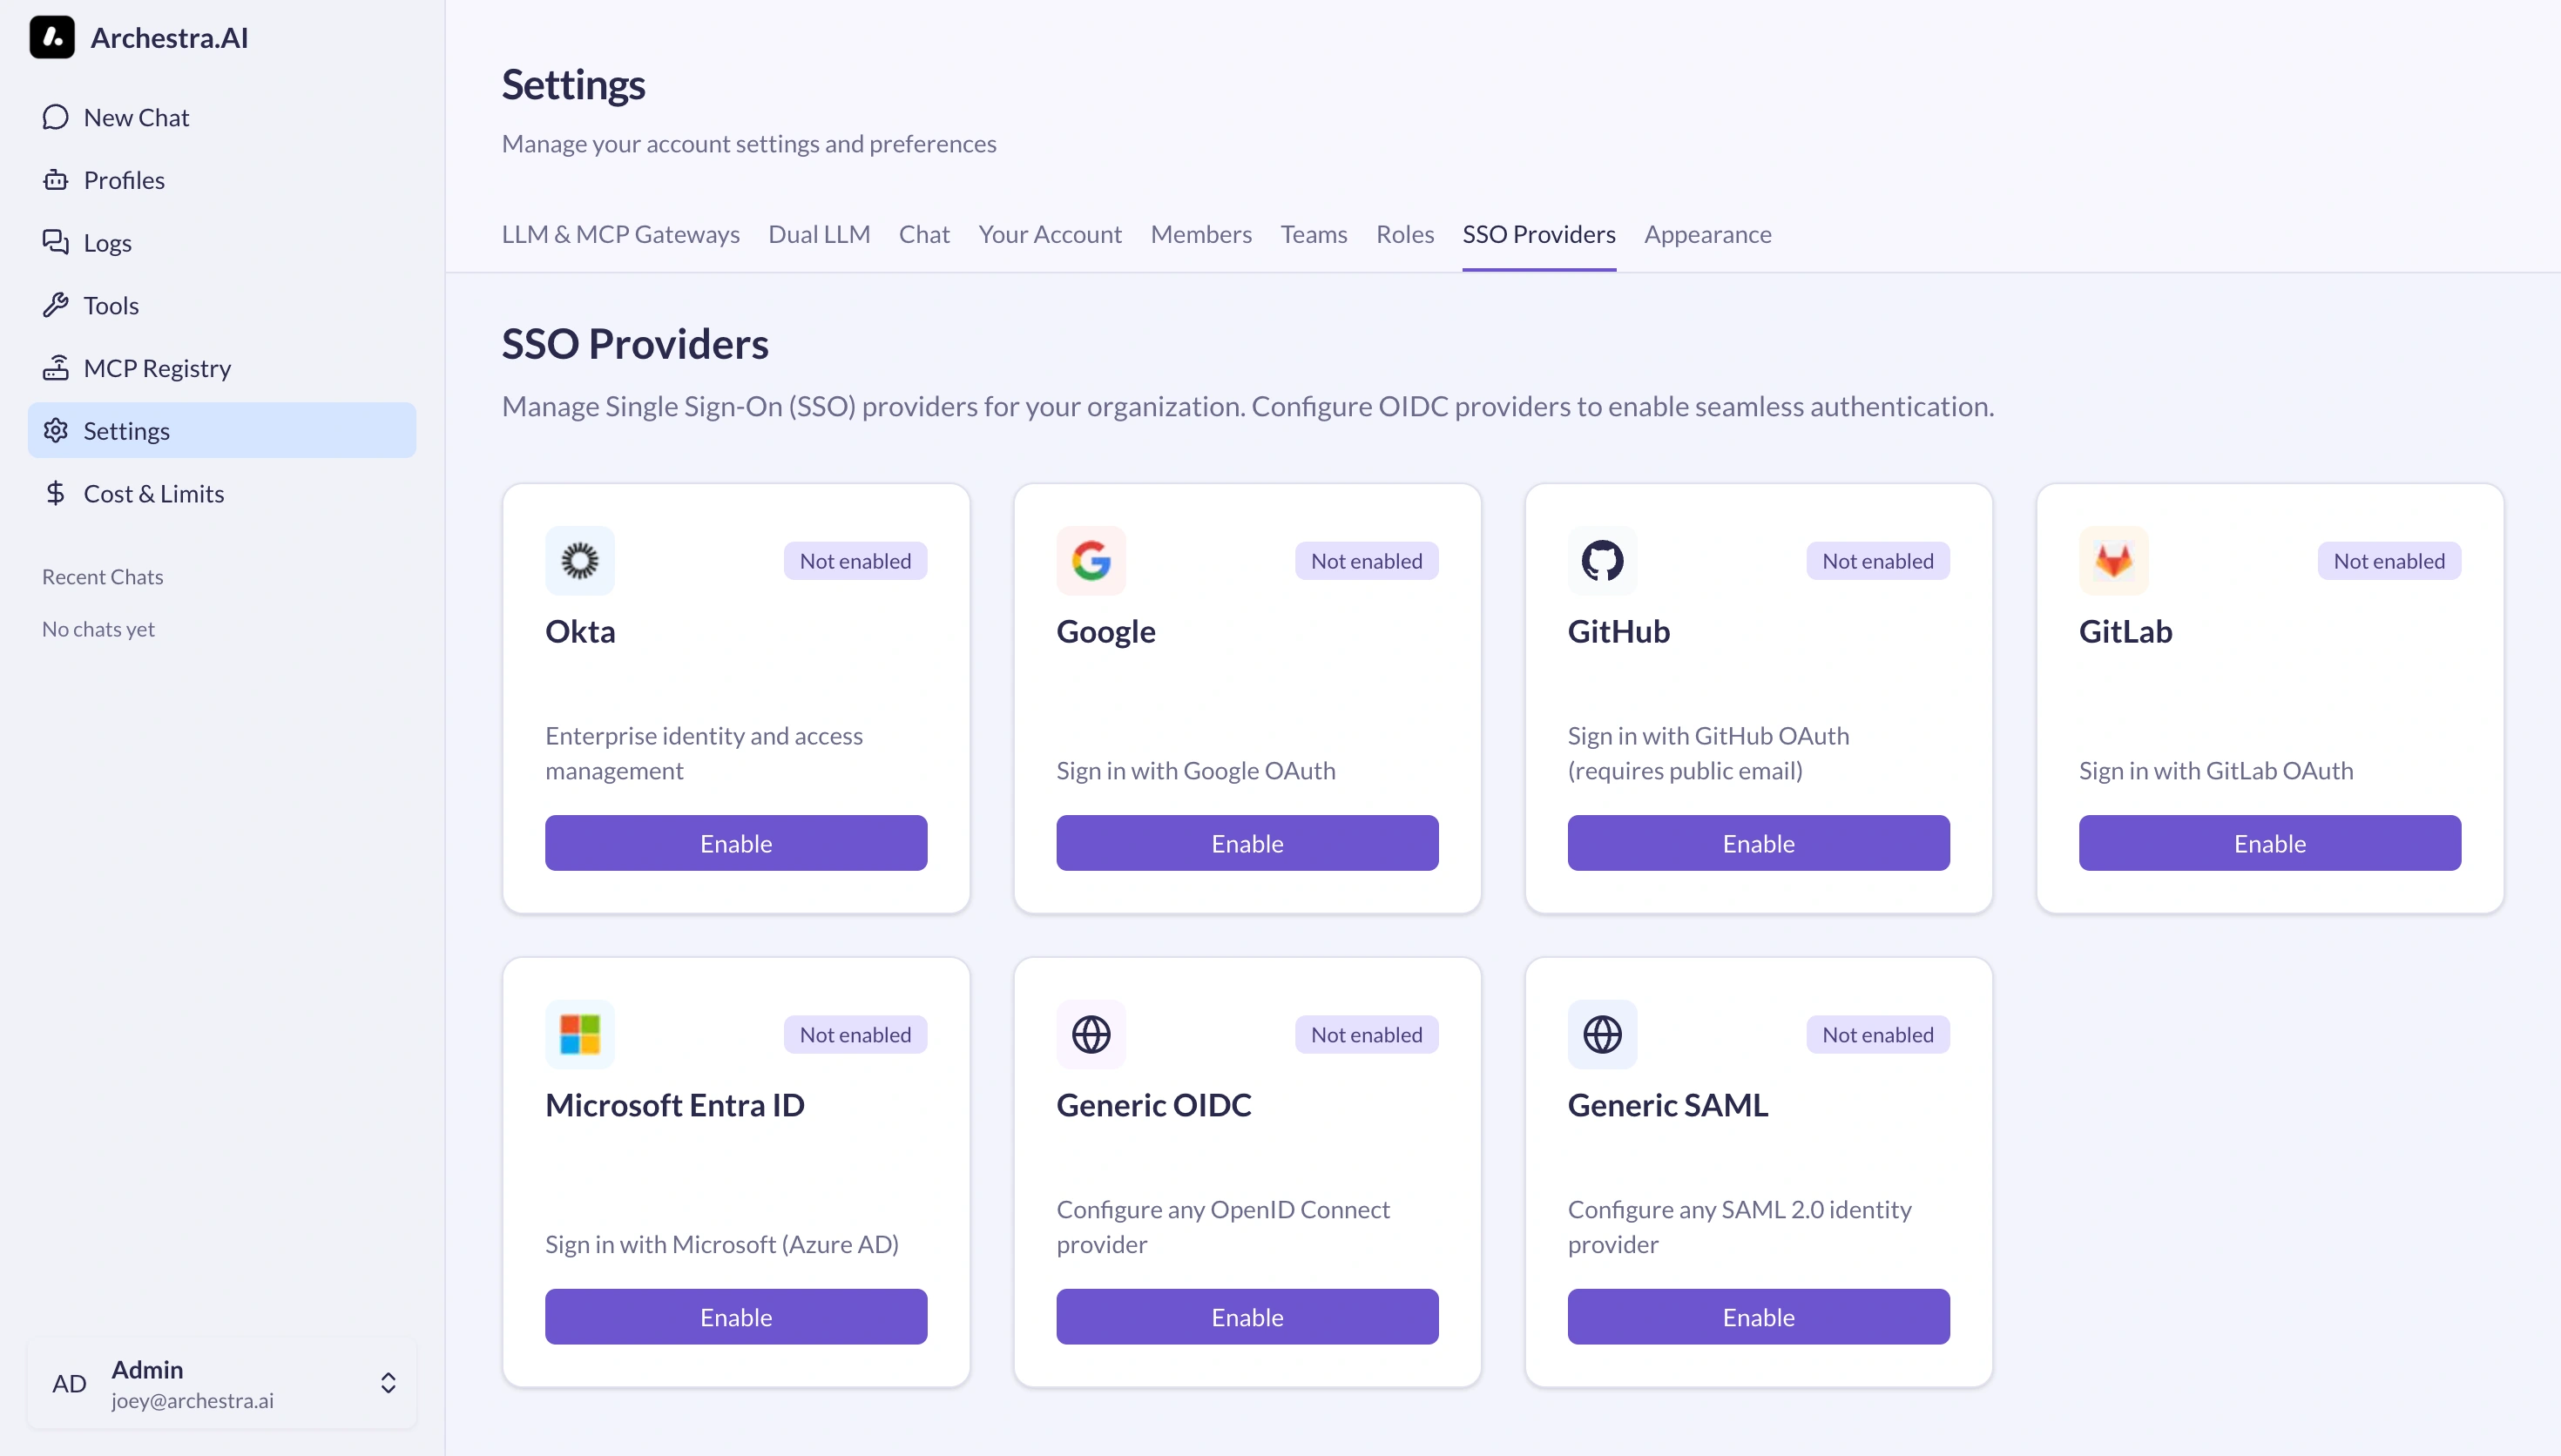
Provider setup
All providers are configured from the Settings > Identity Providers card. For SSO concepts, callback URL formats, and troubleshooting, see SSO.
Microsoft Entra ID
OIDC sign-in with downstream Entra OBO token exchange for MCP tool calls. See Entra ID SSO + OBO for the end-to-end walkthrough (app registration, client secret, group claims, OBO resource configuration).
Okta
OIDC sign-in with Okta-managed downstream token exchange (private key JWT, ID token). See Okta SSO + Token Exchange for the end-to-end walkthrough (app integration, signing keys, token exchange policy).
- Go to Google Cloud Console
- Create or select a project
- Navigate to APIs & Services > Credentials
- Create an OAuth 2.0 Client ID (Web application)
- Add the callback URL:
https://your-domain.com/api/auth/sso/callback/Google - Copy the Client ID and Client Secret
- In Archestra, click Enable on the Google card and paste the credentials and allowed email domains
Google notes:
- Discovery endpoint is auto-configured
- Optional Hosted Domain Hint passes Google's
hdparameter to prefer account selection for a Workspace domain. Archestra still enforces Allowed Email Domains after Google returns the authenticated email.
GitHub
- Go to GitHub Developer Settings > New OAuth App
- Set the Authorization callback URL to
https://your-domain.com/api/auth/sso/callback/GitHub - Copy the Client ID and generate a Client Secret
- In Archestra, click Enable on the GitHub card and paste the credentials
GitHub limitations:
- Users must have a public email set in their GitHub profile — GitHub's OAuth
/userendpoint does not expose private emails - PKCE is automatically disabled for GitHub (not supported by GitHub)
GitLab
- Go to GitLab Applications (or your self-hosted instance) > Add new application
- Set the Redirect URI to
https://your-domain.com/api/auth/sso/callback/GitLab - Select scopes:
openid,email,profile - Copy the Application ID (Client ID) and Secret
- In Archestra, click Enable on the GitLab card and paste the credentials
GitLab notes:
- For self-hosted GitLab, set the issuer URL to your GitLab instance (
https://gitlab.yourcompany.com) - OIDC discovery is supported, so endpoints are auto-configured
Generic OIDC
For OIDC providers not listed above (Auth0, Keycloak, custom), use the Generic OAuth option.
Required:
- Provider ID: a unique identifier (
auth0,keycloak) - Issuer: the OIDC issuer URL
- Client ID and Client Secret: from your IdP
Optional:
- Discovery Endpoint: the
.well-known/openid-configurationURL (defaults to issuer +/.well-known/openid-configuration) - Authorization / Token / User Info / JWKS endpoints: override the discovery defaults
- Scopes: additional OAuth scopes (default:
openid,email,profile). Addoffline_accesswhen Archestra should refresh the user's linked IdP token. Add the provider's groups scope, oftengroups, when role mapping or team sync reads group claims. For linked downstream IdPs, keep these scopes focused on login/linking and the token-exchange assertion. For Entra OBO, include the Archestra app's own exposed delegated scope; configure each downstream resource on the MCP catalog item that needs the token. - PKCE: enable if your provider requires it
- Enable RP-Initiated Logout: sends
post_logout_redirect_uriduring sign-out (on by default; disable for providers that reject it)
Linked downstream IdPs can be hidden from the sign-in page. When a tool needs that IdP token, Archestra starts a short SSO link flow from the current session, stores the downstream account on that same user, and restores the original session after the IdP callback. This supports primary and downstream IdP accounts with different emails.
Generic SAML
For SAML 2.0 providers.
Required:
- Provider ID: a unique identifier (
okta-saml,adfs) - Issuer: your organization's identifier
- SAML Issuer / Entity ID: the IdP's entity ID (from IdP metadata)
- SSO Entry Point URL: the IdP's Single Sign-On URL
- IdP Certificate: the X.509 certificate from your IdP for signature verification
Optional:
- IdP Metadata XML: full XML metadata document (recommended over the individual fields above)
- Callback URL (ACS URL): auto-generated, can be overridden
- SP Entity ID and SP Metadata XML: for custom Service Provider configuration
SAML notes:
- SAML responses must be signed by the IdP
- NameID format should be
emailAddress - User attributes (email, firstName, lastName) should be included in the assertion
- SAML providers cannot do downstream token exchange — use OIDC for that
Related pages
- SSO — sign-in flow, callback URLs, allowed domains, troubleshooting
- Enterprise-Managed Auth — downstream token exchange (OBO, ID-JAG, RFC 8693)
- Role Mapping — map IdP claims to Archestra roles
- Team Sync — sync IdP groups to Archestra teams