
Connect Your Agents
Connect your AI client once, and Archestra governs everything it does. It gets Archestra's tools, models, and shared skills. Your access rules, Guardrails, cost limits, and logs then apply to it.
- Tools come through the MCP Gateway.
- Model requests go through the LLM Proxy.
- Shared skills install in the client.
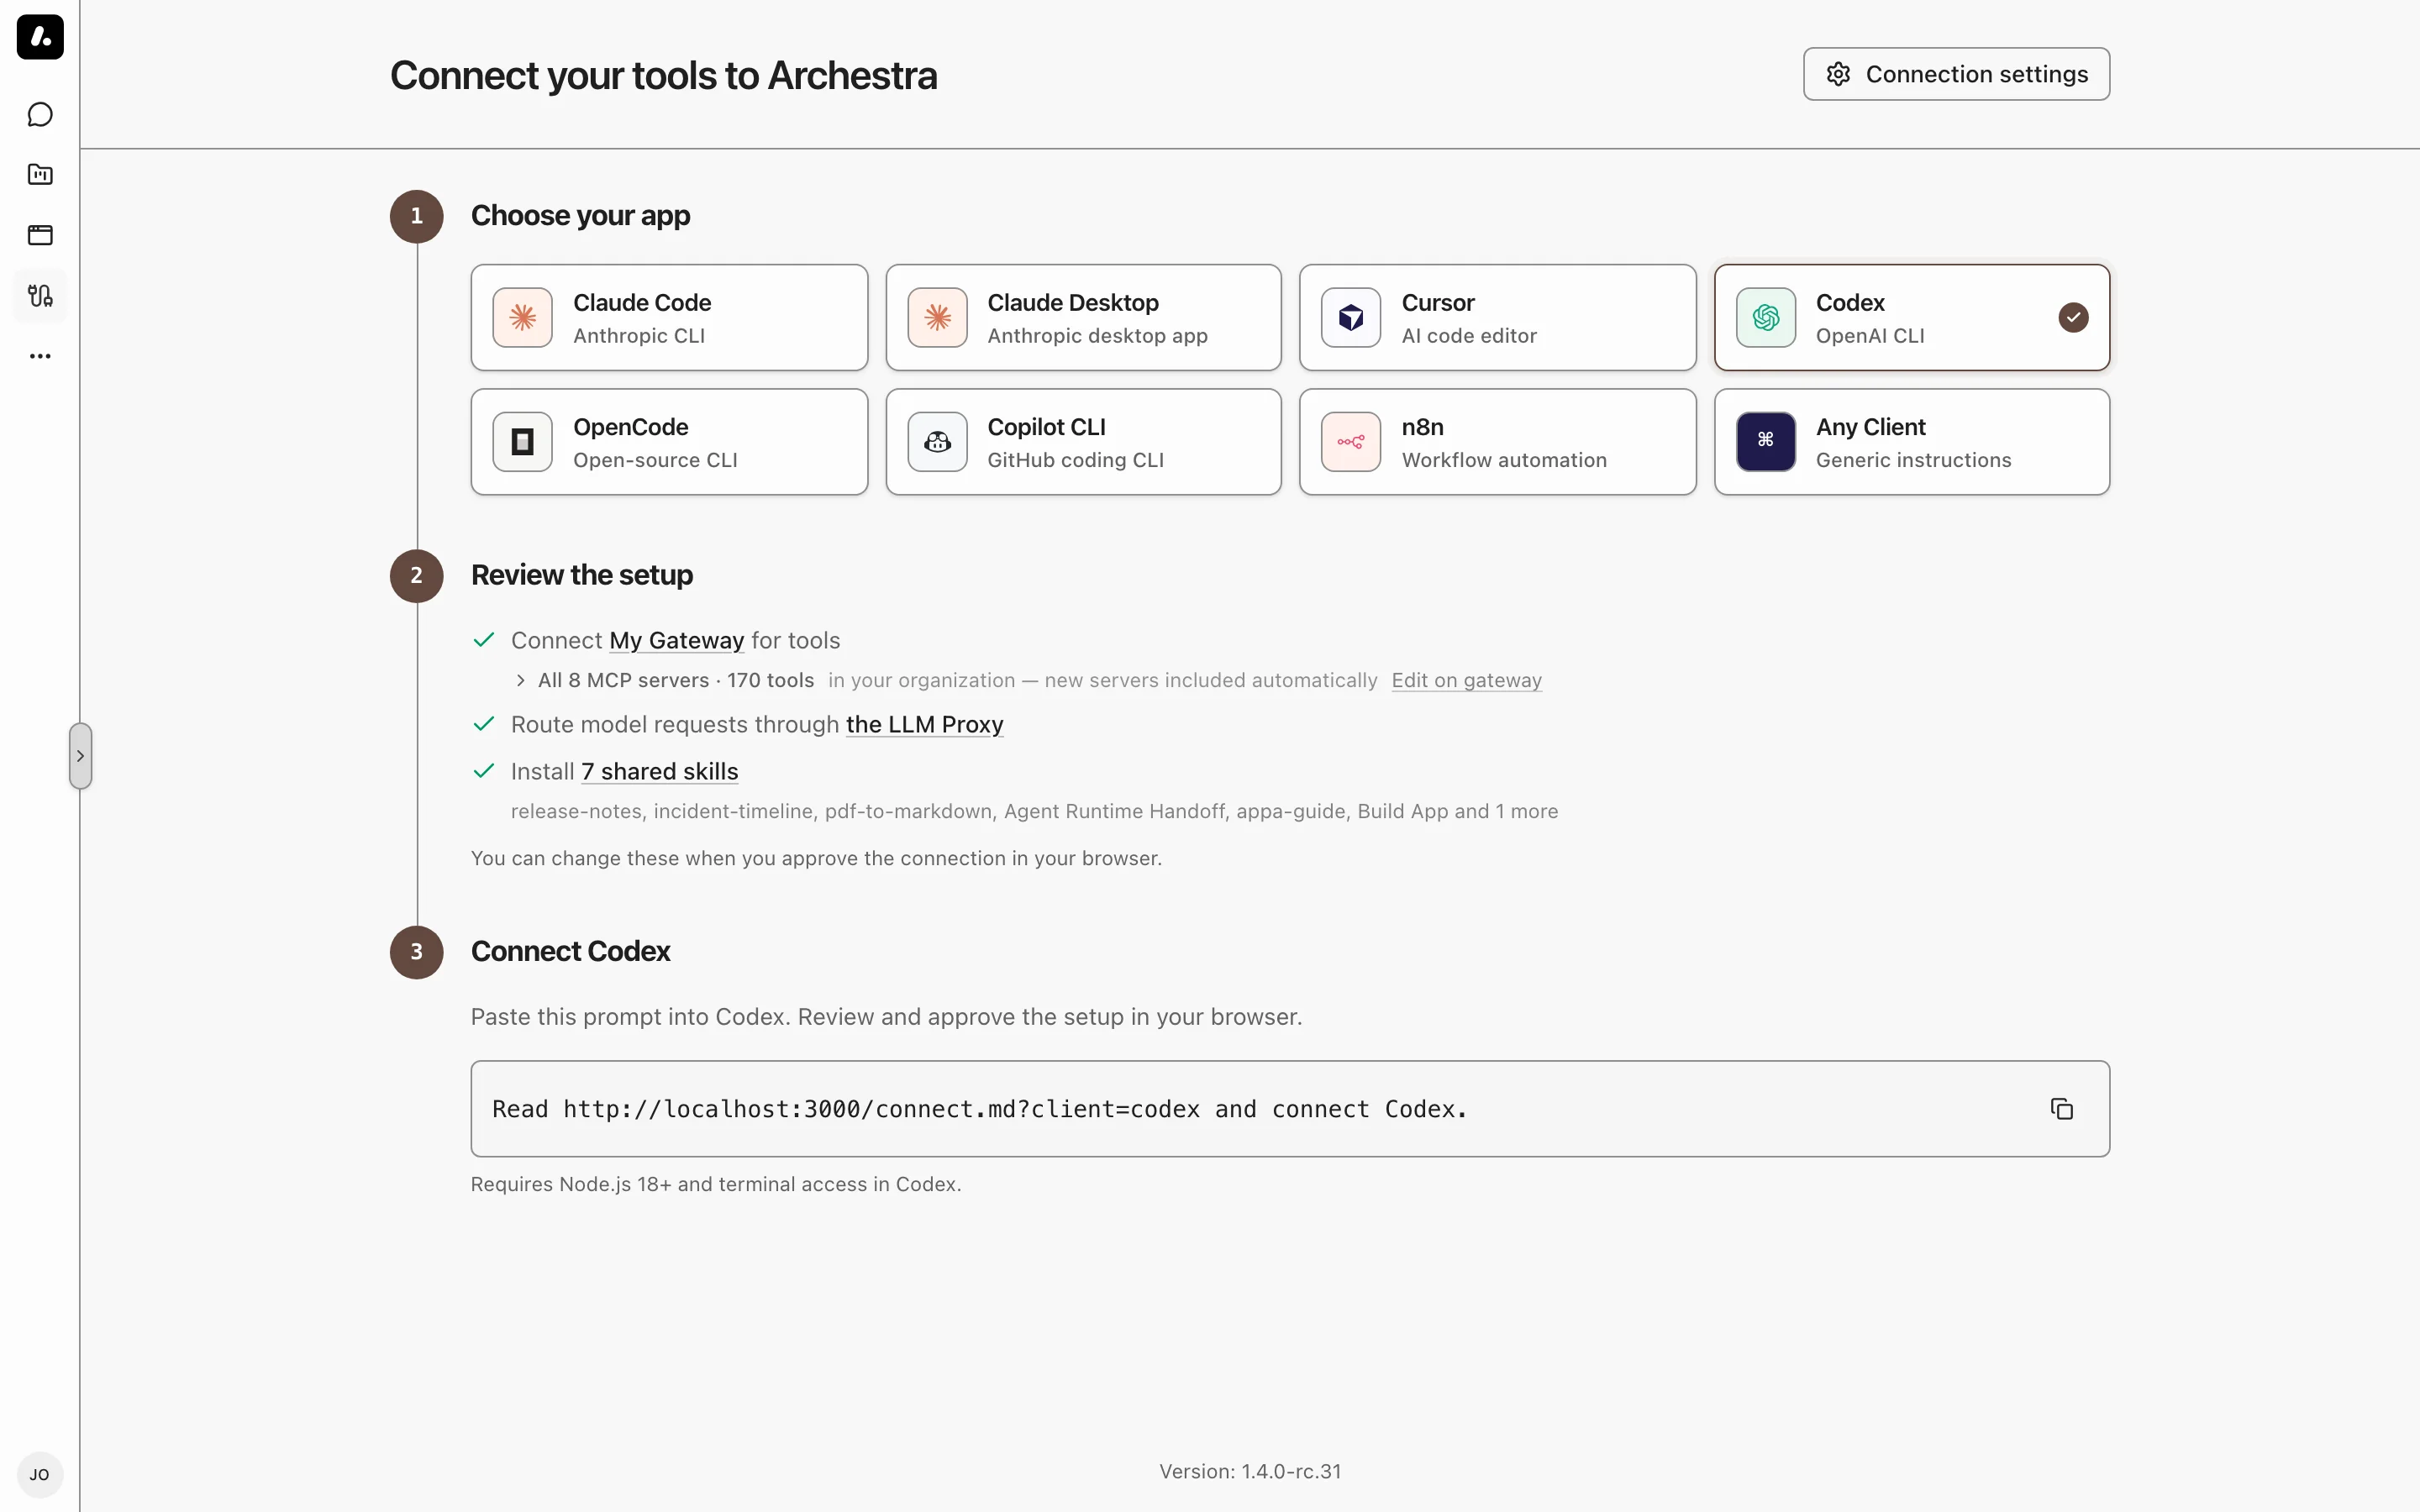
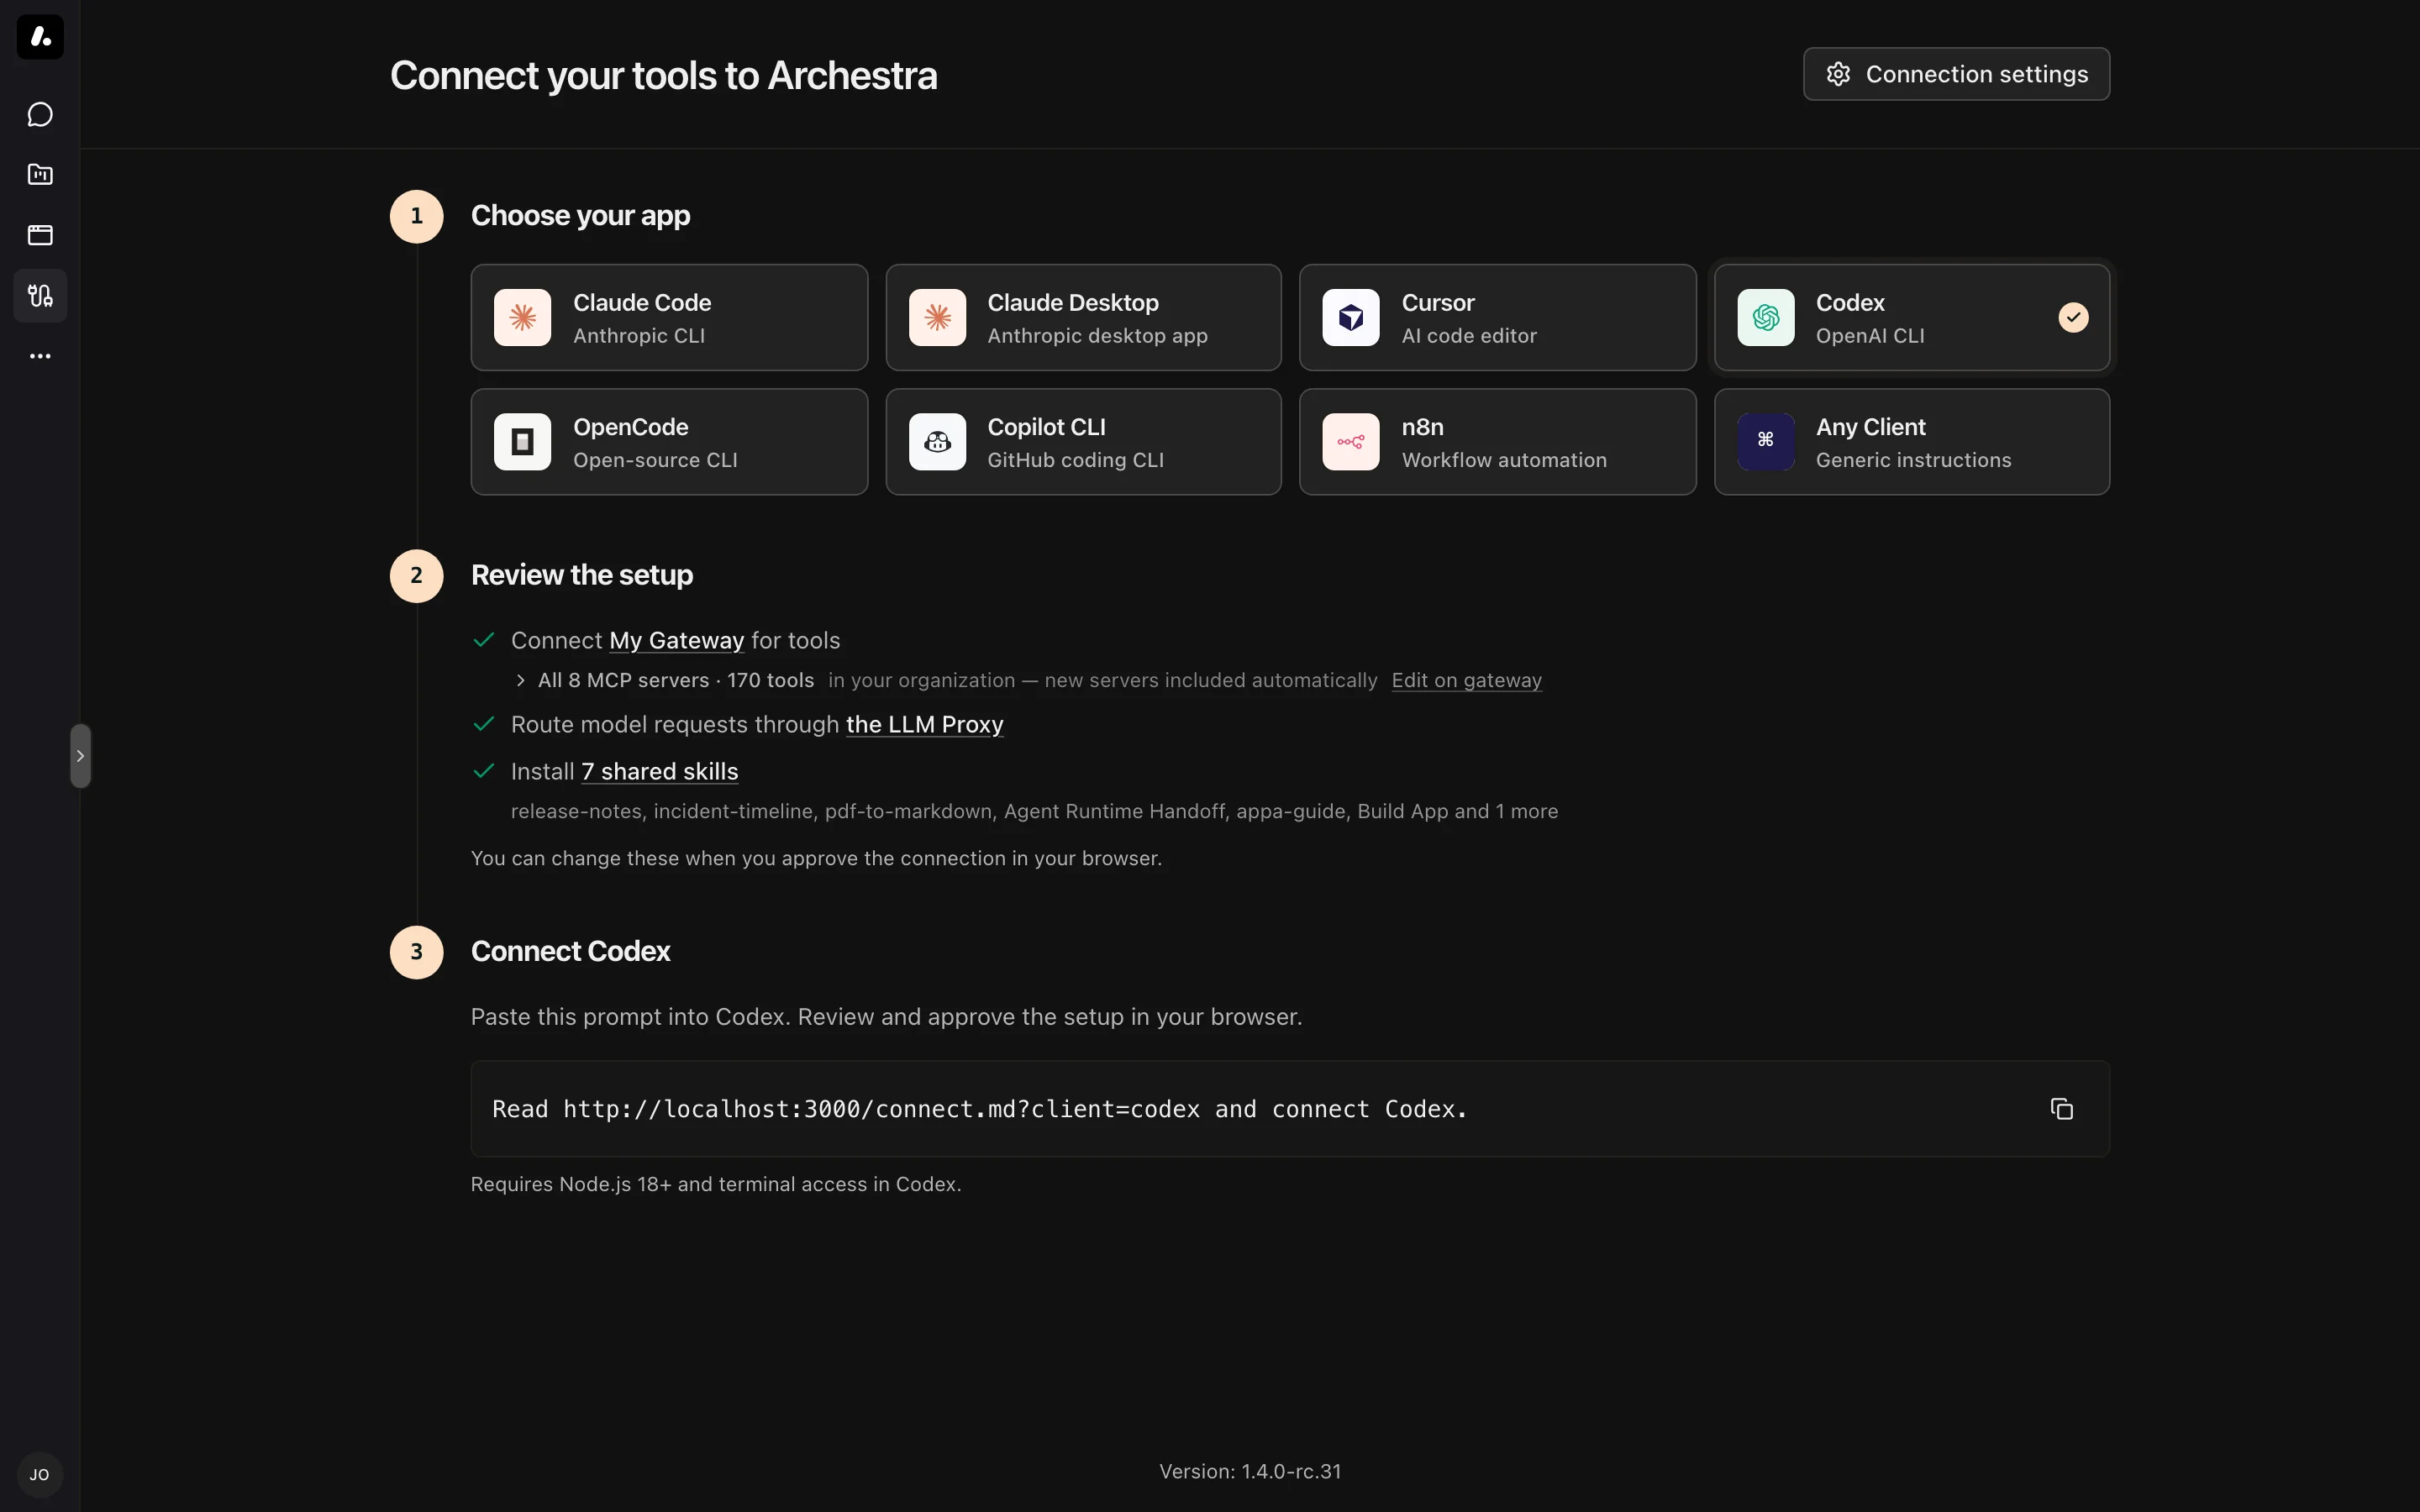
Open Connect in the Archestra sidebar and choose how to connect:
- Coding agents: Claude Code, Codex, Cursor, Copilot CLI, and OpenCode set themselves up after you approve the connection in your browser.
- Claude Desktop: a downloadable installer sets up Desktop.
- n8n: you enter the gateway URL and model settings in your workflow.
- Any Client: any tool that supports MCP or an OpenAI-compatible API. Copy the gateway URL, the proxy base URL, a key, and a Git URL for the shared skills.
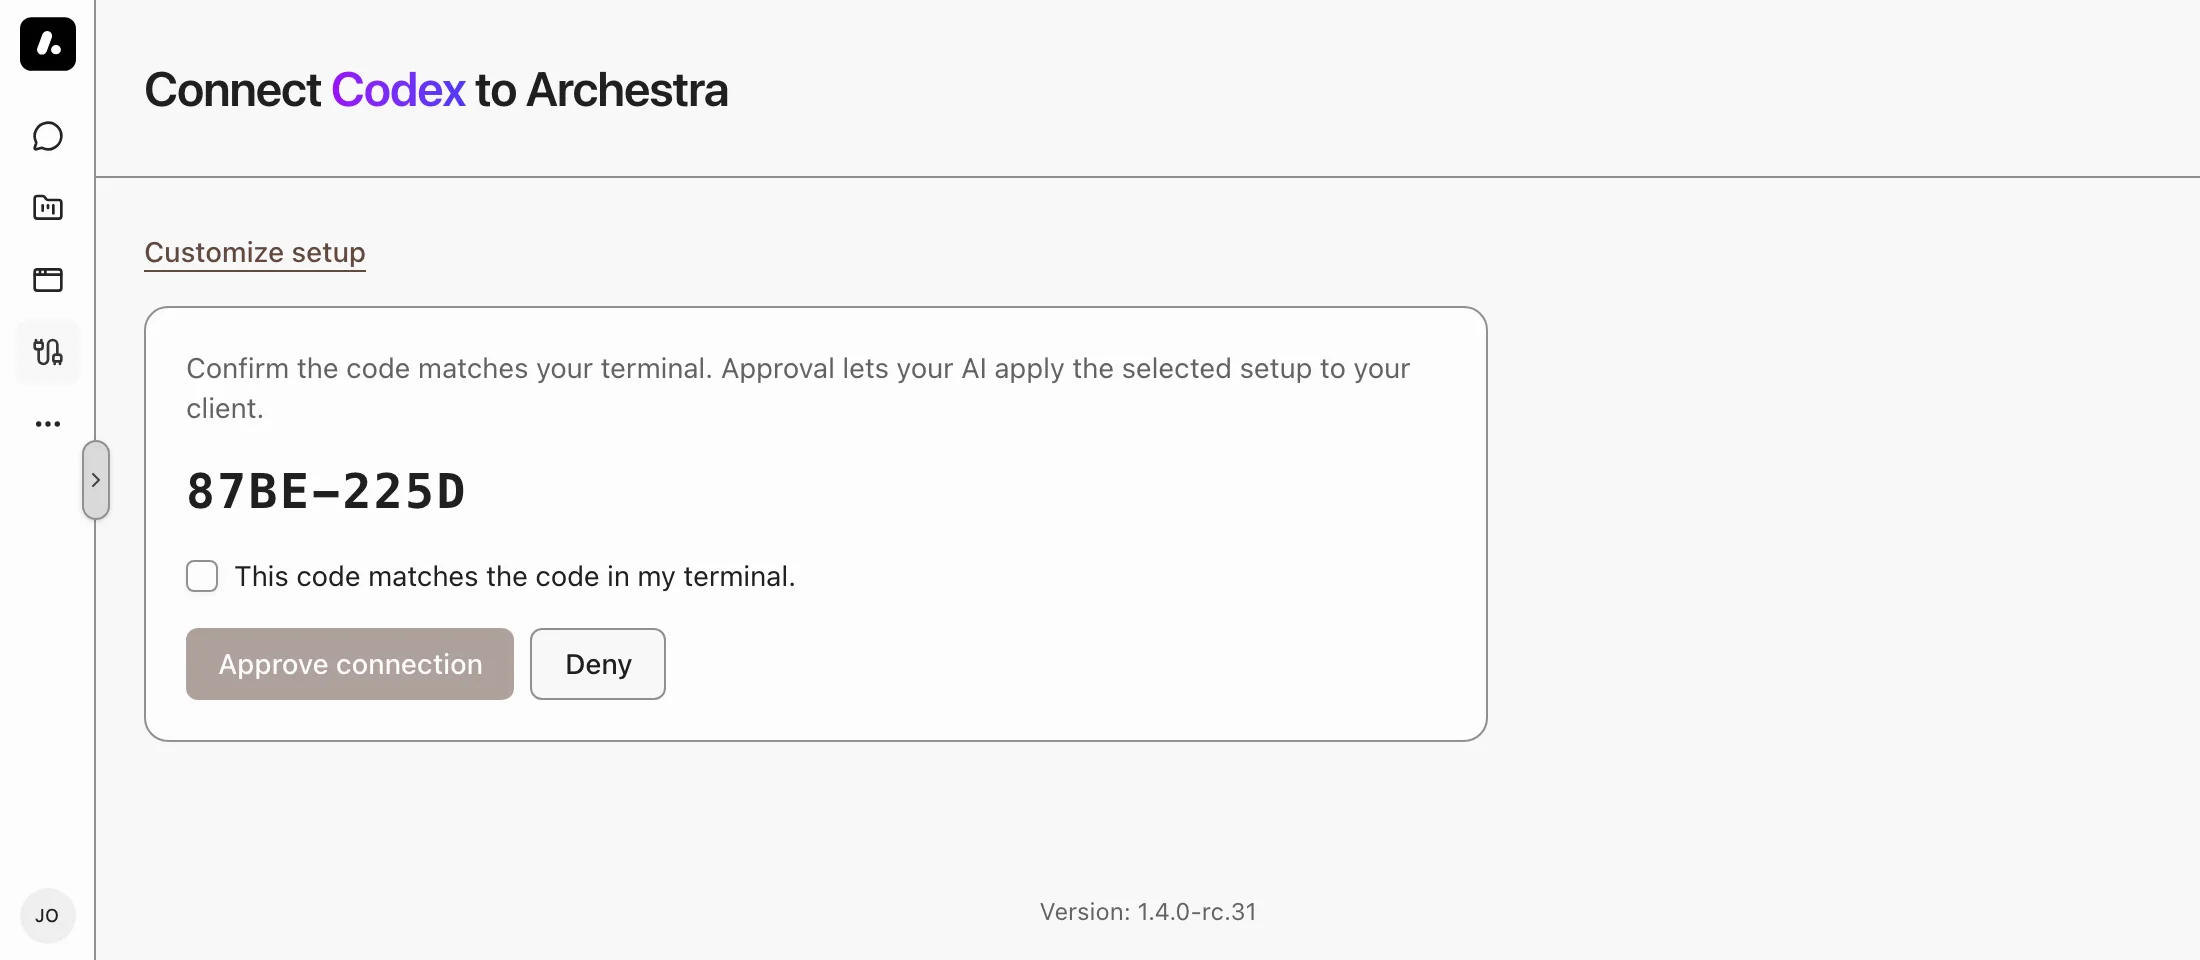
To leave out the proxy or the skills, click Customize setup before you approve.
Before You Start
For Claude Code, Codex, Cursor, Copilot CLI, and OpenCode:
- Node.js 18 or newer, and terminal access in the client.
- The client's CLI on your
PATH:claude,codex,copilot, oropencode. OpenCode must be 1.17 or newer. - Python 3 for Claude Code. Git for Cursor and OpenCode skills.
- An Archestra URL on HTTPS. Plain HTTP works only on
localhost.
Connect a Coding Agent
- On Connect, select your client and copy the prompt.
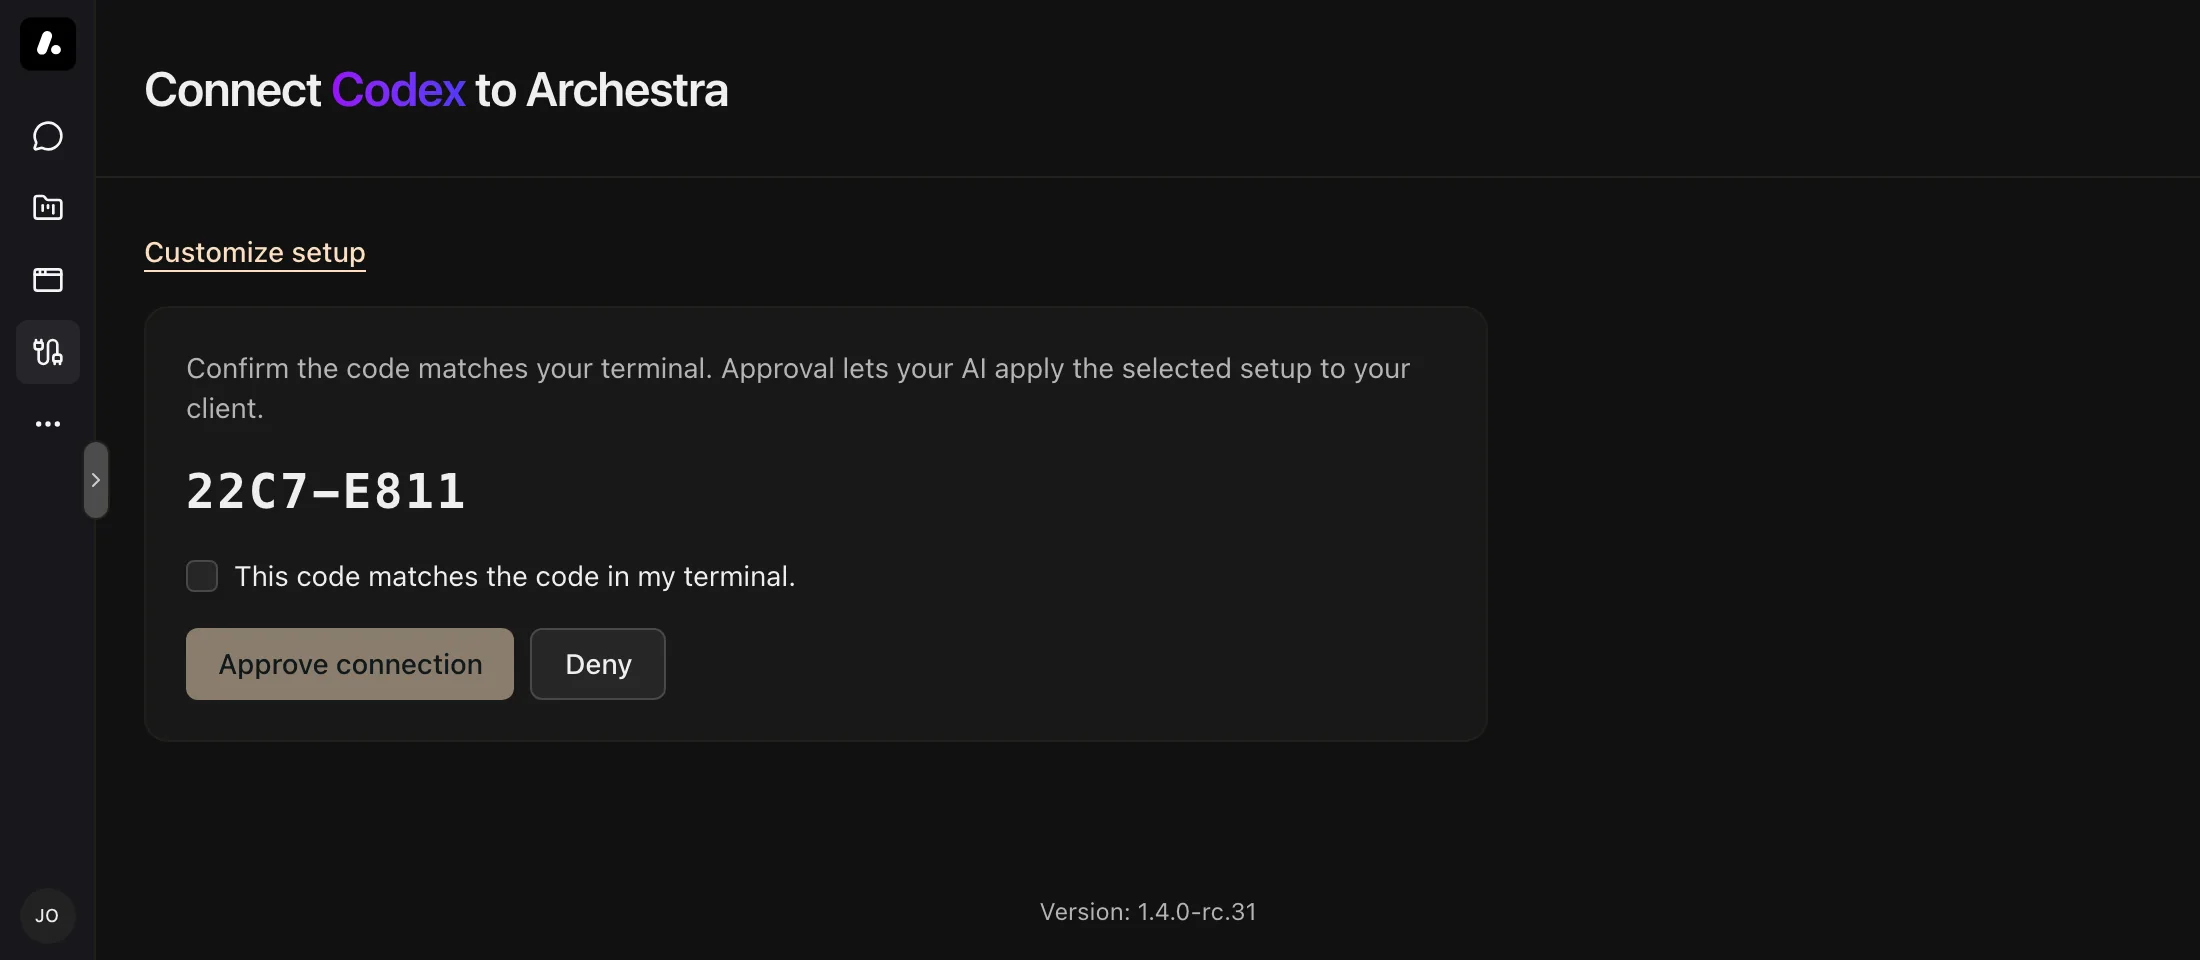
- Paste the prompt into your client. Its installer prints a code and opens an approval page in your browser.
- Check that the code in the browser matches the code in the terminal. Tick This code matches the code in my terminal and click Approve connection.
- Keep the installer running until it reports that setup finished.
Shell startup verification: The setup script adds a lightweight verification check to your shell profile (
.zshrc/.bashrc) so your CLI client verifies its Archestra connection when launching. You can disable this anytime by settingARCHESTRA_<CLIENT>_GUARD=0(e.g.ARCHESTRA_CLAUDE_GUARD=0).
Finish Setup in Your Client
Some clients need one more step. <gateway> is the name your client lists for the Archestra gateway.
- Claude Code: start a new session, run
/mcp, select the gateway, and choose Authenticate. - Codex: if the installer does not report a gateway login, run
codex mcp login <gateway>. When the agent asks to run its connection check, approve the command. - Cursor: sign in to the gateway under Customize → MCPs in Cursor, then reload Cursor to load the skills. Cursor keeps its own models unless you set up the proxy. To do that, find Cursor model settings (manual step) in the installer output. Enter the proxy URL and key it shows under Settings → Models → API Keys. Turn on Use OpenAI API Key and Override OpenAI Base URL. A Cursor subscription cannot be the key.
- Copilot CLI: on Windows, setup sets the proxy variables for your user. On macOS and Linux, add the
exportlines the installer prints to your shell profile. - OpenCode: if
opencode mcp listshows that sign-in is needed, runopencode mcp auth <gateway>. Then restart OpenCode in a new terminal.
After Setup
- Startup guard: setup adds a block to your shell profile. Each time Claude Code, Codex, Copilot CLI, or OpenCode starts, it checks the connection. Press
Cthere to disconnect. To turn it off, setARCHESTRA_CLAUDE_GUARD=0,ARCHESTRA_CODEX_GUARD=0,ARCHESTRA_COPILOT_GUARD=0, orARCHESTRA_OPENCODE_GUARD=0. - Backups: setup saves each config file it changes as a
.archestra-backupfile next to the original. - Setup failed or expired: run it again. Approval requests expire after ten minutes. Only approve a request you started.
Next: See it work.